

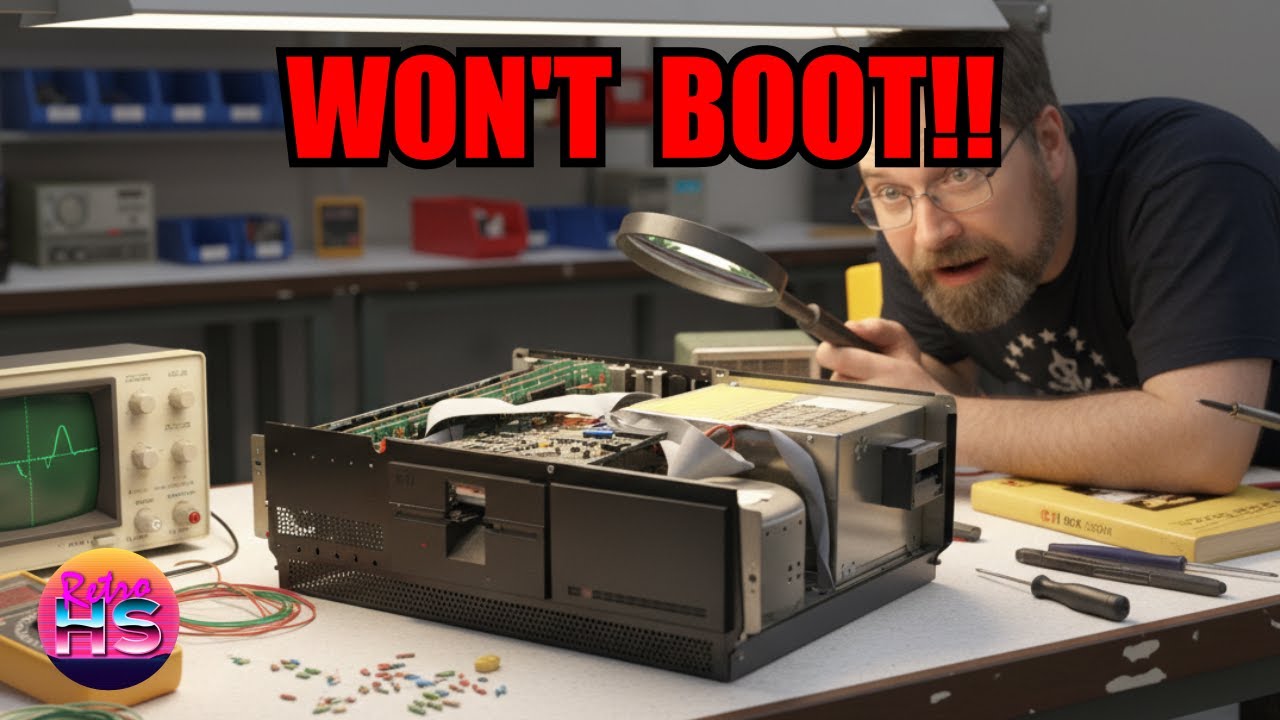
There was something especially compelling about this rescue because the machine hadn’t just been sitting forgotten on a shelf, it had been pulled from an e-waste pile and was clearly only moments away from being scrapped. In this video, I dug into an IBM PC-XT 5160 that looked rough, incomplete, and very possibly dead, then treated it like a piece of computer archaeology as much as a repair project. That was what made the repair so interesting: it wasn’t simply about swapping parts until something worked, but about reading the clues left behind inside the machine, figuring out what had happened to it over the years, and then using that evidence to bring a very early IBM-compatible system back from the edge.
One of the first major clues came from the hard drive, and it was immediately obvious that this wasn’t going to be a normal storage recovery story. The drive had been physically drilled, which strongly suggested it had once held sensitive data and had been intentionally destroyed before disposal. I examined the damage and showed how the drilled hole had gone right into the unit, making any practical recovery unrealistic. Even so, the drive still told part of the system’s history. Its presence helped establish that this XT had once been configured as a more serious working machine rather than a barebones floppy-only setup. The damage also reinforced the idea that these old systems often arrive with a strange mix of neglect and deliberate intervention. Some parts were left to rot, while others were intentionally rendered unusable. It set the tone for the rest of the teardown, because from that point on I had to assume that other surprises might be waiting inside.

The ISA card inspection turned into a useful inventory of what the machine had been equipped with and what I’d need to understand before attempting any power-up. I pulled the cards and went through them one by one, identifying the expansion hardware and checking for obvious corrosion, damage, missing chips, or modifications. In a system like an XT, the card set effectively defined the machine’s personality, so this wasn’t just a cosmetic exercise. There were the usual questions about disk controller functionality, display hardware, I/O capabilities, and whether any one card might be capable of dragging down the whole system. I paid attention to slot condition and connector cleanliness as well, since oxidation and grime in ISA sockets can easily create intermittent faults that looked like deeper logic problems. It helps to have a good picture of how much of early PC troubleshooting starts with understanding the ecosystem of add-in boards rather than assuming the motherboard alone is at fault.

The floppy drive and power supply section was where the machine’s physical condition really came into focus. I opened things up further and dealt with the grime, dust, and general contamination that had built up over decades. The floppy drive needed close inspection because these mechanisms often seized up, collected hardened lubricant, or suffered from dirty heads and stuck movement. At the same time, the power supply deserved caution because an old supply could either fail quietly or damage the rest of the machine if brought up carelessly. I checked its condition, looked for obvious component issues, and evaluated whether it was safe enough to continue with. In a machine this old, power integrity was foundational; there was no point chasing logic faults if the rails were unstable or missing. Before any dramatic troubleshooting could happen, the mechanical and electrical basics had to be made trustworthy.

After cleaning, the machine looked dramatically better, and the “after the bath” stage really showed how much dirt had been hiding the system’s actual condition. Once the boards and parts had been washed and dried, it became much easier to inspect traces, solder joints, connectors, and component markings. Cleaning wasn’t just about appearance — it removed conductive grime, exposed corrosion, and made it possible to spot cracked joints or damaged areas that had been invisible before. Reassembly after a deep clean also forced a slower, more deliberate look at each piece as it went back together. By this point, the XT had gone from “e-waste survivor” to something that at least looked like it deserved a serious second chance. That reset was important psychologically too, because once a machine is clean and organized, the troubleshooting process becomes much easier to approach methodically.

The first boot attempt was the moment where all that preparation met reality, and the machine immediately proved that it still had serious problems. I powered it up to see how far it would get and watched for the usual signs of life: fan movement, display activity, beep behavior, and any indication that the CPU was executing code. Instead of a straightforward startup, the XT refused to come up properly, which confirmed that this wasn’t going to be a simple “clean it and it works” rescue. The exact symptoms matters here, because on an early IBM platform every clue counts Whether a system produces no video, no beep, partial activity, or unstable behavior can narrow the fault tree considerably. This first attempt established the baseline for the rest of the repair: the machine wasn’t totally lifeless, but it also wasn’t healthy enough to complete a normal boot, so the hunt had to move from general restoration into board-level diagnosis.

From there I shifted into structured troubleshooting, isolating possibilities instead of guessing. I reduced the configuration, checked the machine with only the essential hardware, and worked through the likely causes in a logical order. That meant considering the power supply again, the expansion cards, socketed ICs, motherboard connections, and the possibility of a failed support chip somewhere in the startup path. I observed how the machine behaved under different conditions and used those changes or lack of changes to eliminate bad assumptions. This is the kind of troubleshooting that made old PCs so satisfying: there was no hidden firmware log to read and no software debugger to lean on, just symptoms, schematics, bus logic, and patience. The video does a good job of showing that even when an XT refuses to boot, the board was still communicating through its failures if you pay close enough attention.

The schematic section was where the repair really became detective work. Instead of continuing to swap parts blindly, I pulled up the documentation and traced the relevant circuitry to understand what should have been happening during startup. On a machine like the IBM 5160, that kind of reference material is invaluable because it let me follow signals through the logic and identify which chips were responsible for gating, decoding, or buffering critical lines. I used the schematic to move from “the machine doesn’t boot” to a much more precise theory about where the fault might live. That was a big turning point, because once the logic path was understood on paper, the problem stopped feeling mysterious. It became a matter of checking whether the real board matched the expected behavior of the design.

With a theory in hand, I moved into direct testing to see whether the suspected fault actually fit the symptoms. This part of the process was all about verifying assumptions instead of getting attached to them. I probed the relevant area, checked signals, and compared what I was seeing against what the schematic said ought to be present. The goal wasn’t just to find something “weird,” but to prove that one specific failure point could explain the startup problem. Old boards often have multiple aged or questionable components, and it’s easy to get distracted by anomalies that isn’t actually responsible for the main fault. By testing the theory against the hardware, I narrowed the issue down to something concrete and moved from broad troubleshooting into a repair that had a real chance of solving the boot failure.

The final fix was satisfying because it came from understanding the machine rather than getting lucky. Once the bad component or fault area had been identified, I repaired it and then brought the system back up to see whether the XT would finally behave. This was the payoff for all the cleaning, inspection, documentation work, and signal tracing that came before it. When the machine responded correctly after the repair, it validated the whole process and turned what had started as a dirty scrap-bound relic into a functioning piece of IBM PC history again. That was the best kind of restoration result: not just a powered-on artifact, but a machine whose failure had been understood and corrected in a way that respected how it was originally engineered.

The big takeaway from this episode was that even a rough, incomplete, and seemingly dead IBM PC-XT could still be worth saving if you approached it with patience and curiosity. What looked at first like another doomed e-waste case ended up becoming a great example of why these early systems were so rewarding to work on: they were understandable, repairable, and full of stories hidden in their hardware. If you enjoy seeing vintage PC hardware cleaned up, decoded, and brought back through real troubleshooting instead of guesswork, this is absolutely a video worth watching all the way through.
— Aaron
Links
Timestamps
00:00 – First Look
01:55 – Drilled Hard Drive
04:07 – ISA Cards
08:46 – PCBWay Ad
09:30 – Floppy Drive/Power Supply
14:43 – After The Bath
16:28 – First Boot Attempt
22:05 – Troubleshooting
32:02 – Schematic
36:17 – Testing The Theory
41:02 – The Fix
Leave a Reply